Total Pageviews

Friday, August 31, 2012

Full Moon


I just don't tire of taking photos of the same subject over and over again.  For me, it is never the same.  I could not resist the full moon tonight.  It was just a beautiful sight, with a yellow orange hue as it rose in the night sky.  I hope you can appreciate it as much as I do.


Thursday, August 30, 2012

My First Collage

I wanted to try something a little different with my pix today, and I thought why not try a collage.  A collage is a different way to display photos with a common theme.  I have been taking so many nature shots lately, that I decided to try the collage with some of my recent bird photos.  I never really gave much thought to birds before, but since I have been taking a lot of photos of them lately, I have started to become much more interested in them.  I plan to start looking up the names of the birds that I have photographed and add the names into my posts.  Anyway, I searched on the internet for a free collage making program, and there are quite a few of them.  Some you use directly via the internet and some are actual programs that are downloadable.  I downloaded a program called CollageIt, and it was very intuitive and easy to use.  In a couple of minutes, my collage was ready.  The hardest part was trying to figure out which photos that I wanted to use.  You get to pick from several pre-defined collage templates and you can choose how many photographs you would like to use in your collage.  I did have to shuffle the photos around a bit and change some of the size settings with the sliders to get the optimal fit for each photo in the collage boxes.  This particular program, although touted as free, is watermarked as you can see.  To upgrade to the full version, there is a fee and some extra features are included for the price.


When your collage is completed to your liking, you can export the file as a jpg, and save it on your computer.  After that, you can decide what you would like to do with it.  You can share it via the computer as I am doing here, you can e-mail it, or print it out.  If you have some pictures from vacation, family gatherings, parties, etc., why not give a collage a try.  A collage is another option for sharing your photos, so have some fun with it.  

Here is a link to download CollageIt: 
http://www.collageitfree.com/


Wednesday, August 29, 2012

RUDY

Enjoying the day
Today's post is all about Rudy!  Rudy is my 14 lb. mini (debatable) dachshund.  She's looking more like a little sausage lately.  Time to lay off the Liv A Snaps, I guess.  Rudy turned 9 years old exactly 1 week ago.  I was trying to get some snaps of her today, but it was a bit difficult.  I don't think she liked the camera.  It's not exactly that she was afraid of it, but she tried to avoid it when possible.  She also was not overly cooperative being where I wanted her to be; hence a lot of shadows and the like.  Anyway, here is what I came up with.  No special effects here; just regular old snapshots today all taken with the Canon SX 40HS.
Say Cheese

What am I thinking about?


Maybe if I close my eyes she'll leave me alone already


Tuesday, August 28, 2012

The Eyes Have It! First Macro

I tried out my first macro.  This is my son's eye.  I actually shot this in color, but I think it looked better in B&W.  I also added a lens flare to the pupil.  What do you think?


Monday, August 27, 2012

Cold Spring Harbor-Panorama

Welcome back!  So I tried my first panorama image from the little park that I told you about yesterday. It took me a while to figure out how to shoot in the panorama mode on the Canon SX 40HS.  The camera tells you to overlap the images a bit, and you can choose to sweep from left to right or vice versa depending upon your own preference.  If I am remembering correctly, I used 4 or 5 images to create this panorama.  The images are not stitched in camera; you need to use the supplied Canon software to stitch the images together.  It took me a bit of trying to figure it out, and then once you get it, you get it.  Got it?  I think the panorama mode for scenery/landscapes is really amazing.


I uploaded my panorama to a free 3D panorama website.  You can check out my 3D panorama by clicking on the following link:

Sunday, August 26, 2012

Cold Spring Harbor-Main Street

After the fish hatchery yesterday, Cindy and I made our way into the downtown area of Cold Spring Harbor.  On our way, we stopped at a little pier that you could drive up to.  There were some guys fishing from the pier, and others were just taking in the view.  For me, it was all about the view and snapping some pix.  About another half mile up the road and we were in the center of town, on Main Street, of course, where we met Amy and Carey. The whole downtown area was probably less than a quarter of a mile long.  All of the shops were very traditional looking, and I felt like I was on vacation far from home.  No chain stores allowed!  We ate lunch at a very quaint little place with all of half a dozen tables that oozed with small town charm.  It was named the Gourmet Whale. After lunch we walked to a small park right on the water's edge.  There were some people relaxing in chairs and on blankets, picnicking, and reading.  There were also several benches to relax and take in the view.  It was very quiet, peaceful, and scenic.  We continued down Main Street browsing in the little shops. The weather was beautiful and it was just a glorious day to be outside.  


Ay...where's my head?

Ah, that's better!


Come back tomorrow for Part 3 of Cold Spring Harbor.  I  have one photo left which is my first  panorama image taken from the little park that I mentioned.


Saturday, August 25, 2012

Cold Spring Harbor Fish Hatchery and Aquarium

The lack of funds for a 'real' vacation led me to a web search for interesting places to check out in my own backyard.  Today's adventure took place at the Cold Spring Harbor Fish Hatchery and Aquarium which is in Nassau County just bordering on Suffolk County.  Although small, there is plenty to see and photograph.  There are outdoor pond areas as well as two buildings with indoor displays.  The weather was absolutely beautiful.  We covered the place in about 1.5 hours, but that accounts for photography time.  Non-shutter bugs can probably see everything in about 45 minutes or so.


All of the above photos were taken with the Canon SX 40HS.  The first three photos of the fish were taken inside one of the aquarium buildings and the fish were in glass tanks.  The 'low light' setting under the 'Scene' mode was used for the fish photos.  


Follow the link below to find out more about The Cold Spring Harbor Fish Hatchery and Aquarium


Come back tomorrow to see more pictures from my day in Cold Spring Harbor!

Friday, August 24, 2012

Eisenhower Park Turtle

As far as I'm concerned, I can never take too many photos of the same type of subject.  Whether it is birds, bunnies, flowers, turtles, etc., they are all different.  Sure, they may seem the same at first, but when you look closer, you will notice or feel something different.  At least I will, because I will remember when and where I took the photo, the conditions of the scene, and my attempt to get that perfect shot.  And what is a perfect shot, you might ask.  Well, I guess for me it would be to capture something outstanding about that moment in time and to be able to share it.  Check out this turtle that was at the lake in Eisenhower Park last weekend.  


I think this turtle has a very distinctive, almost regal facial expression.  He stood his ground as I photographed him from only several feet away while his little companion ducked back into the water.  I love the way I can see the texture of the skin on the top of his head and the way the color of his eye pops.  I think his eye is quite a marvel.  This photo was taken with the Canon SX 40HS, and contrast was adjusted with GIMP and Adobe Lightroom.  I just got the free trial of Adobe Lightroom this evening and I will be experimenting with it over the next 30 days.

Thursday, August 23, 2012

Old Photo Revisited

If you are anything like me, you've got boxes of photos as well as CD's of digital photos totally unorganized.  I seem to start with a method to my madness, but soon abandon it for some other system resulting in total CHAOS.  I vow to figure out a better organizational system, and if you have one, I am all ears.  In the meantime, I found this digital photo I took several years ago at Point Lookout.  I really liked the composition, and wanted to play with the photo in GIMP.  Due to the definition of the clouds, I decided to go for a 'fake HDR' look.  Here is the original photo and the enhanced photo using the 'Fake HDR Plus' add-on script in GIMP.  The original photo was taken with a Canon Powershot SD550.  I like the original, but I think I prefer the 'pop' of the enhanced photo. Which photo do you prefer, and why?


Wednesday, August 22, 2012

THE ARCHITECT OF TIME

Yesterday morning I went into the back yard and right away I spotted a huge spider web.  It had to be close to 3' by 3'.  Now I am certainly no bug lover, but I do appreciate the artistry of a spider web.  I ran and got my camera to snap a shot of it.  I was kind of hoping there was a spider in it to zoom in on, but no such luck.  The lighting was a tad bright and the web was swaying a little in the gentle breeze.  I did manage to get this pic though.  I was hoping to go back later to see if spidy came back and to see if the lighting was any better.  Sadly, when I returned several hours later, the web was gone; like it had never been there at all.  All that hard work...poof!  I asked my good friend Tom, a writer, to capture this picture and event in prose.  I hope you enjoy his poem as much as I did, and if you are a fan of reading and writing, please visit his blog, TOM'S WRITING CORNER, tjvbutch.blogspot.com


THE ARCHITECT OF TIME

BY THOMAS VENTRELLI
                                                 
A SPIDER SPINS ITS WEB
SO INTRICATE AND FINE
WEAVING IN AND OUT
AN ARCHITECT OF TIME
IT IS WITH GREAT ENDEAVOR
THIS TINY THING CREATES
A SYMPHONY OF GEOMETRY
NATURE'S STATE OF GRACE
BUT WITH THE WINDS OF CHANGE
THE WORK FOREVER GONE
NATURE'S LITTLE ARCHITECT
BEGINS ANOTHER DAWN
TO WEAVE AND SPIN ANOTHER DAY
A BEAUTIFUL DESIGN
OH WHAT FRAILTY OF ITS WORLD
THE ENDLESS ARCHITECT OF TIME.

Thank you Tom!

Tuesday, August 21, 2012

Canon SX 40HS: Color Accent

I just love every opportunity I have to play with my Canon SX40 HS and learn about all of its features.  A couple of days ago I checked out the color swap feature and today I am trying the color accent feature.  The color accent feature lets you choose one color that you wish to accent in your photo and it will revert the rest of the photo to black and white.  In the following example, you will see a not so exiting photo; a basket of fruit.  In the original shot you can see the yellow of the bananas, red of the apples, and some black, blue, and white in the background.


In the second shot, I chose to just keep the yellow from the bananas.  The rest of the photo is black and white except for a little bit by the stem of the apples which was similar to the the color of the bananas in the original shot.


In the third shot, I chose to keep the red color from the apples and the rest of the photo is now black and white.


What did I learn while experimenting with this mode?  My original shot was taken in Automatic Mode, and you can see that the exposure is much better than the other 2 pictures.  I think that when you change the mode dial to use the Color Accent feature, you are leaving Automatic Mode, but I could not tell how to compensate for this. ISO was on Auto, and I did not see any other settings that I could change in this mode.  I did learn, however, that you can use the up and down arrow keys to select the range of the color that you choose to keep.  You can also change the contrast of photos that you have already taken when in review mode using iContrast.  You get to choose from Auto, Low, Medium, and High, and the camera will save your edited photo as a new, separate shot. The following two photos were enhanced in this way using Auto iContrast.


I think this is a fun mode to play with, and when you have a subject that would lend itself to this mode, you can get creative.

Monday, August 20, 2012

Sunday, August 19, 2012

Canon SX40 HS: Using Color Swap

Color swap is a very interesting in-camera feature of the Canon SX40 HS.  I'm not sure what other digital cameras out there have this feature, but you may want to check your camera to see if it is available.  Of course, you can probably achieve a similar effect via post production software, but it was fun to experiment with this in-camera effect when I was out and about.  The basic premise is that you are actually swapping one color in the photo that you are taking with another available color.  The following examples are not exemplary photographs; they just demonstrate this effect:


The top photo above shows the bench color as is in real life.  In the second photo, I swapped out the color of the bench and made it the color of the grass.


The above photo shows white flowers as they appear in real life.


I swapped out the bright yellow in this park equipment truck for the white in the flowers.


Here is the result.


Now I'm sure you can still see some white in the flowers.  This is because in choosing my white selection, I chose a portion of the white in a certain tone of the color, and this was the only portion that was swapped out.  Objects in real life can be made up of different shades of colors.  Keep this in mind when you are swapping colors.

One last example.  I swapped out the lighter area of the sky with the pink from a nearby flower.


You can get as creative as you want with this effect.  Just think of the possibilities.  Get out your camera to see if it has this effect.


For Canon SX40 HS owners, please refer to 'Shooting with Color Swap' (P. 68 of your PDF User's Manual)

Saturday, August 18, 2012

Now You See It...Now You Don't!

It is very recently that I began using GIMP.  Although I consider myself somewhat computer savvy, I was totally intimidated by all of the terminology, menus, and sub menus within the program.  Since I have been experimenting with the program at my own pace, I have become much more comfortable with it, and I feel free to experiment and learn.  I taught myself how to correct my photos by using the clone tool.  It was surprisingly easy.  Give it a try!


You can see that there is a piece of grass by the bird's eye.  I used the cone tool in GIMP to pick up the coloring of the bird's head close to the where the grass is, and used the airbrush tool to go over the grass.  You can see the result in the photo below.

Friday, August 17, 2012

Metamorphosis


Let's see how using a graphic image manipulation program can transform your photographs.  In this example, I have used GIMP to transform a photo of a butterfly into three very different photographs.


The first altered image was completed using the 'seamless' option.  The second image used 'funky colors'.  The third image used the circle maker' option.  In addition to using GIMP to correct your images, you can also get creative.  I especially like the circle maker for this particular photo; it is quite unique.

Feel free to play with your photos and explore all that GIMP has to offer.  You can always undo an effect if you do not like it without risk of ruining your original photo.  If you alter your photo and like the result, you can save it several ways.  I choose to use the 'export' function and save as a jpg image.

Thursday, August 16, 2012

My Evening Walk in the Bird Section

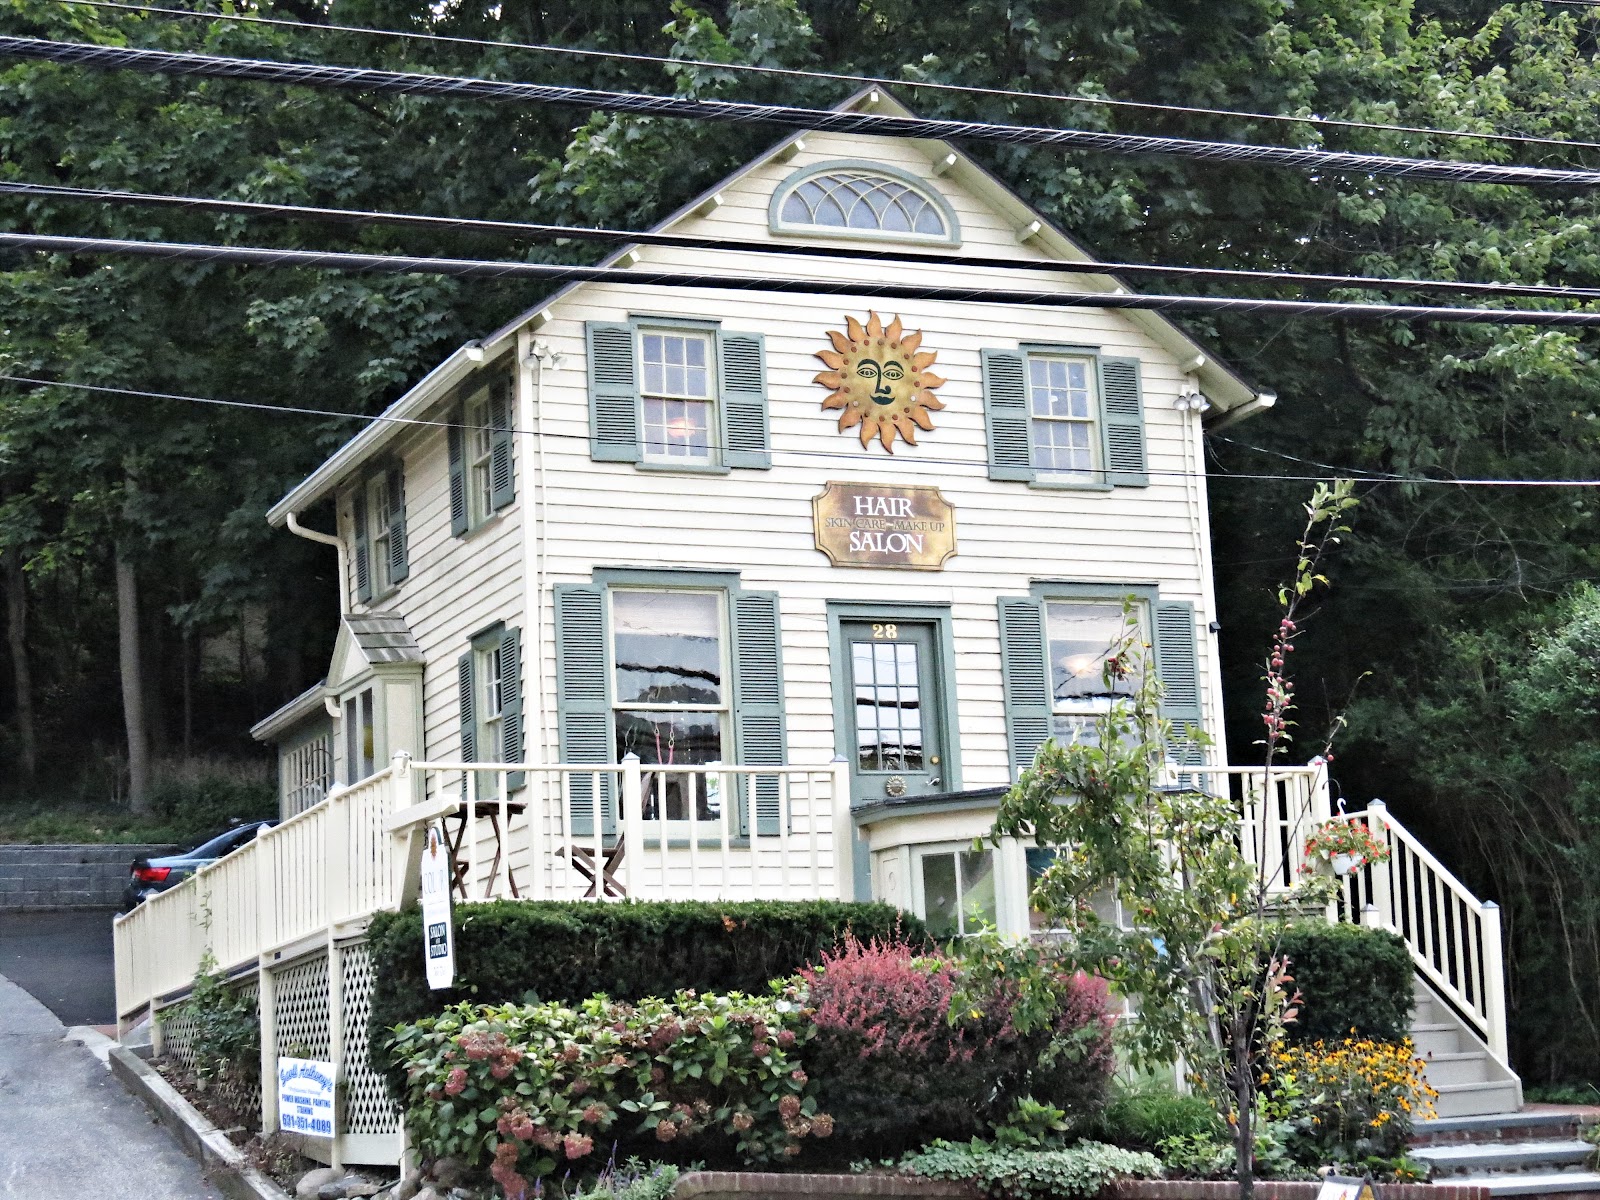
Something amusing happened on my walk this evening.  I aimed my camera across the street from where I was standing because the evening sky was so beautiful with rays of light shining down.  After I took my pictures, someone approached me from across the street wanting to know why I was taking pictures.  I think they thought that I was taking pictures of them or their house.  I waved them over and showed them the sky.  Ahhhh, a light bulb moment; that's right, you were not the center of the universe!


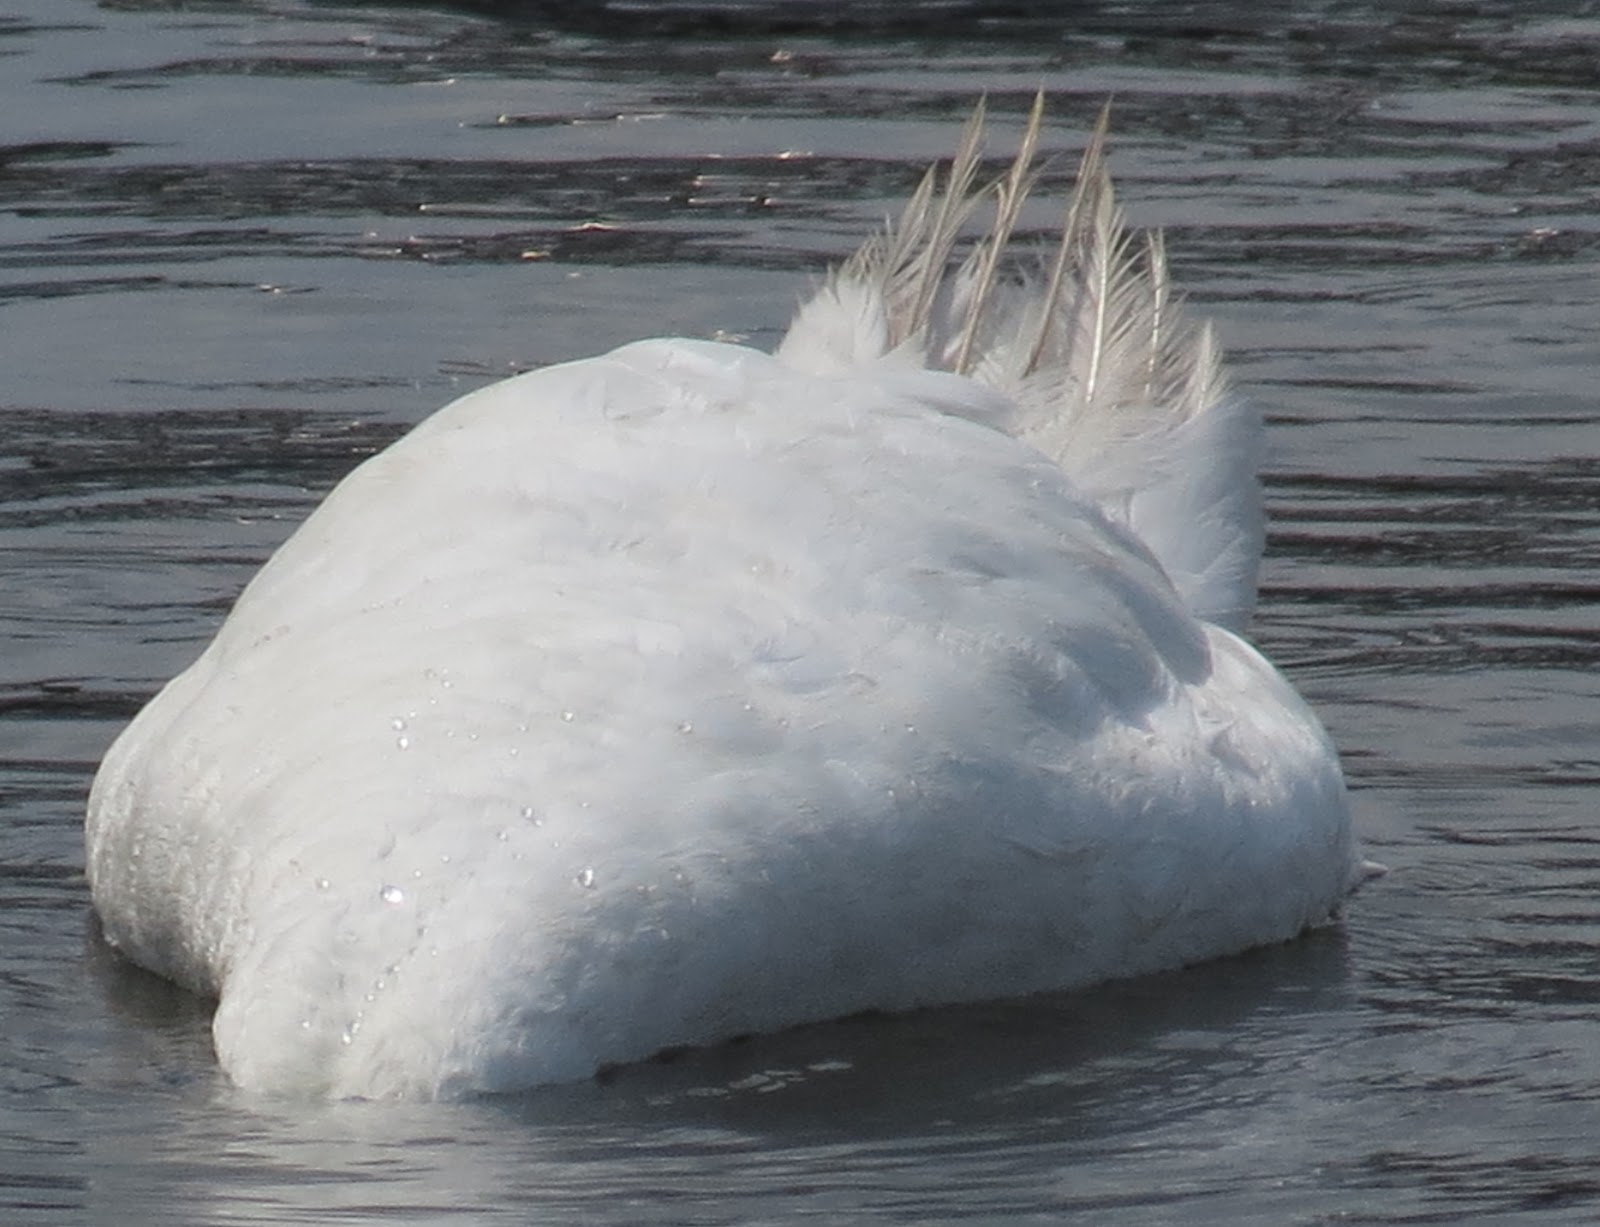
As I proceeded in the bird section, I came across:


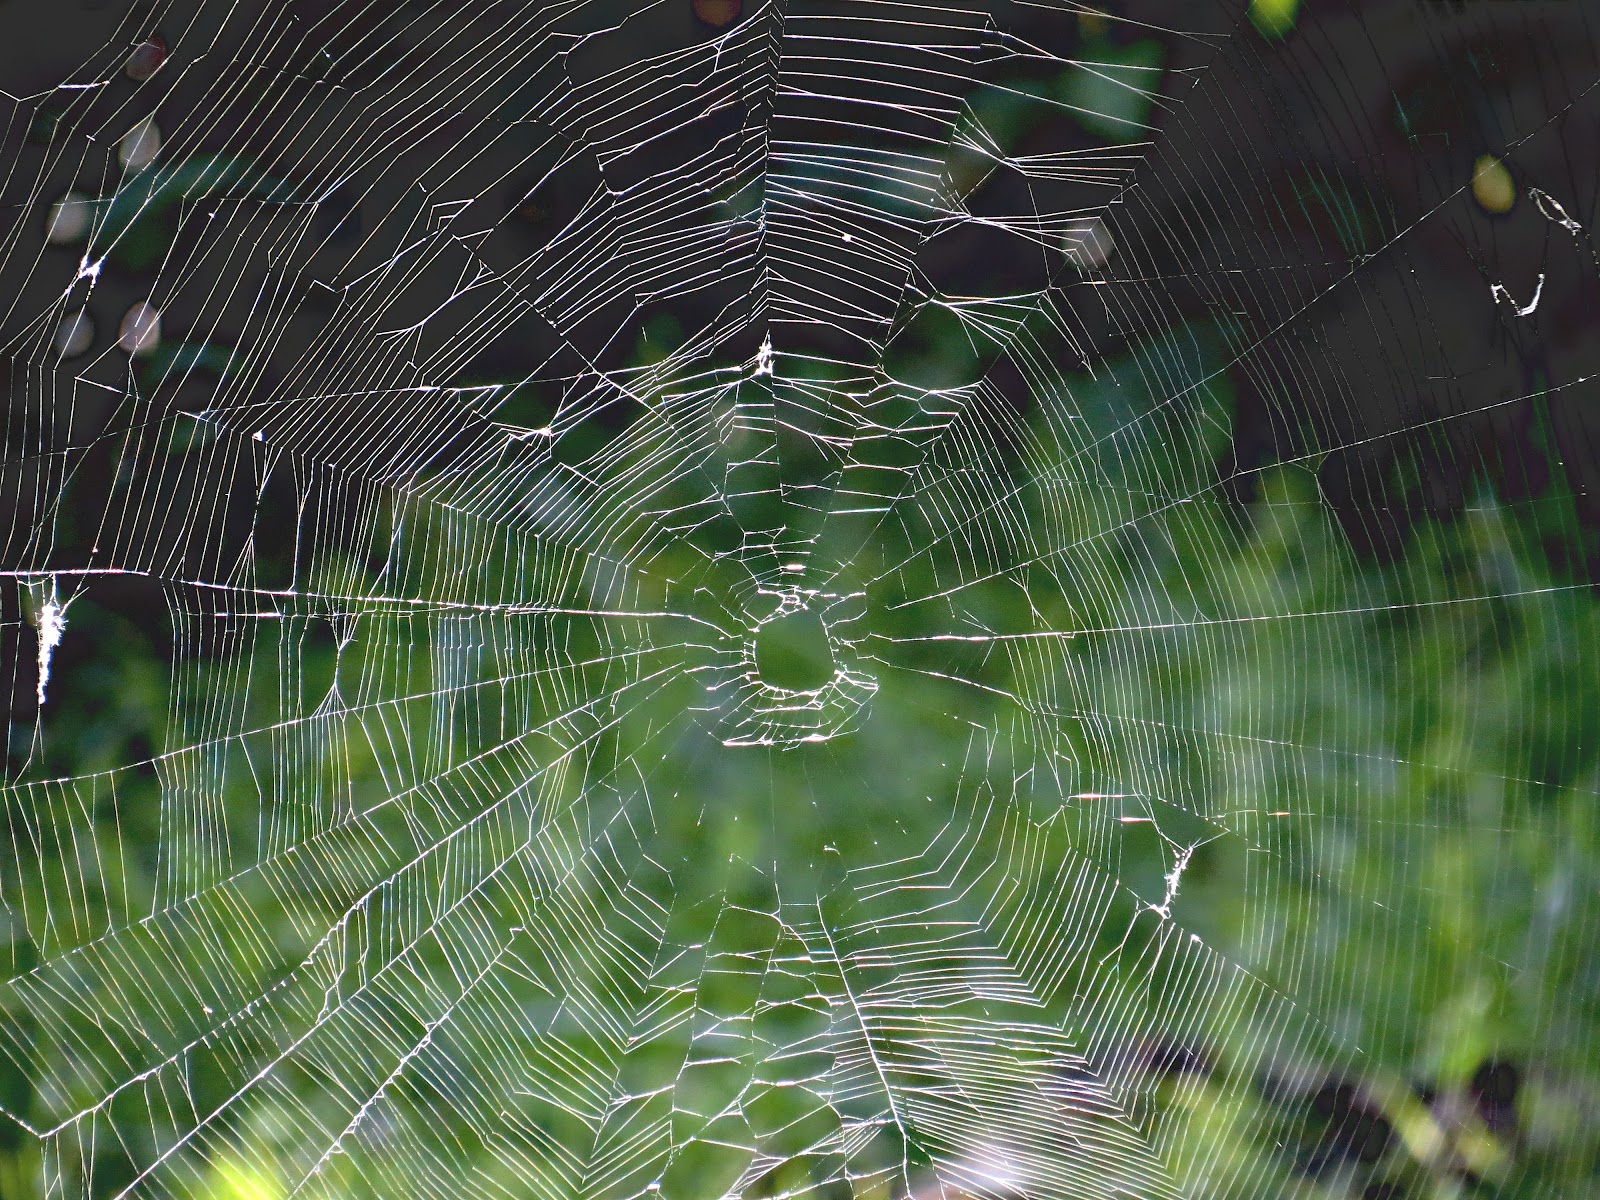
and a whirlybird too!


Wednesday, August 15, 2012

My First HDR Photograph

I have been eager to try HDR since I first heard about it.  Courtesy of Wikipedia, "High dynamic range imaging (HDRI or HDR) is a set of methods used in imaging and photography, to allow a greater dynamic range between the lightest and darkest areas of an image than current standard digital imaging methods or photographic methods. HDR images can represent more accurately the range of intensity levels found in real scenes, from direct sunlight to faint starlight, and is often captured by way of a plurality of differently exposed pictures of the same subject matter."

So, how does one achieve HDR?  Well, there are various ways to 'cheat'.  For example, you could take a photo and then simply create an over exposed and under exposed version of the same photo via software and blend all of the exposures together.  Or you could use various scripts that basically do the same thing in various photo editing software.  If you want to do the real thing In camera, you would take what are called bracketed exposures.  This basically means taking various shots (usually 3 or more) of the same subject with different exposure settings of your choice.  The Canon SX40 HS allows for bracketed images which then need to be combined via software.  In my first example, I did not use a tripod.  However, a tripod is highly recommended to reduce ghosting when your images are blended together.  


My First HDR Photo
 Below you can see the 3 images that made up my HDR photo.


As you can see, one of the images is of normal exposure, one is over exposed, and one is under exposed.  Blend them all and you have a HDR photograph.

There are many beautiful examples of HDR photography on the internet.  Google 'HDR Photography' and check them out.  I know that HDR photography is something that I will be doing much more of.  I just love that vibrant, almost 'fantasy like' look in a real photo.